スポンサーリンク
ランキングやステータス欄などなど、ユーザーのキャラクタのサムネイルをゲーム内で利用したい場合があると思います。
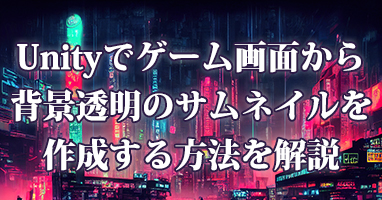
そこで、ゲーム画面から動的に任意のサイズの「背景透明」のキャプチャを撮ってサムネイルを作成する方法を解説します。
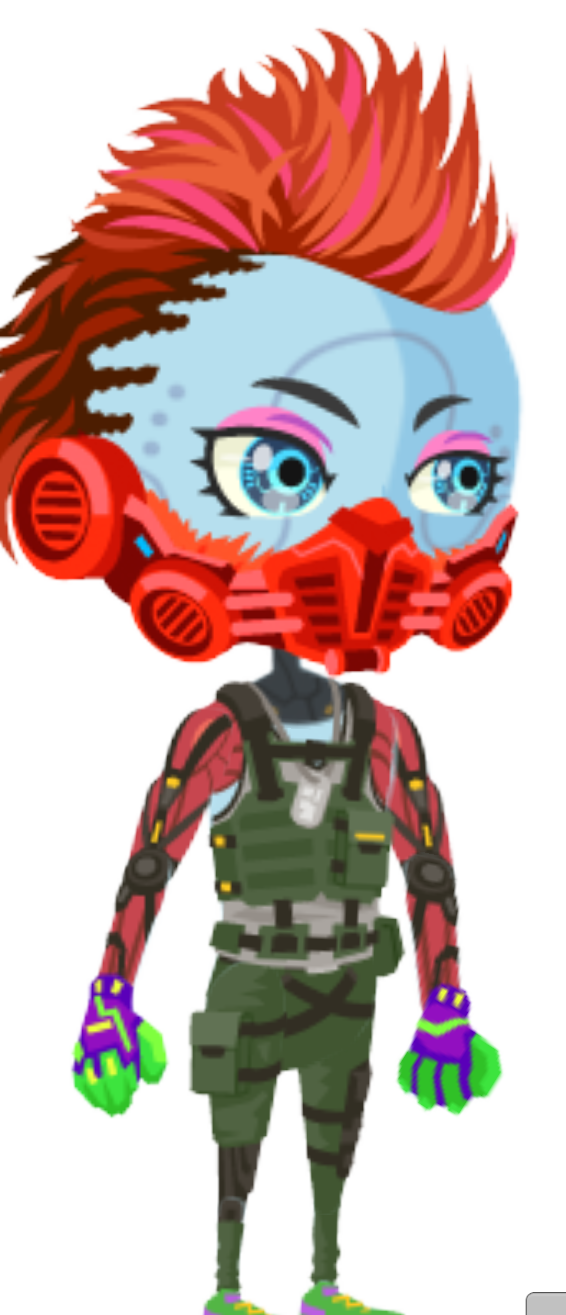
解説用のお題として、僕が現在開発中のゲーム「EUREKA5」のお着替え画面を利用します。その画面から、キャラクターだけを背景透過で保存していきます。
EUREKA5はこんなゲームです。よろしくお願いします。
お着替え画面。

完成品。(ちょっと見切れちゃってますね..)
前準備
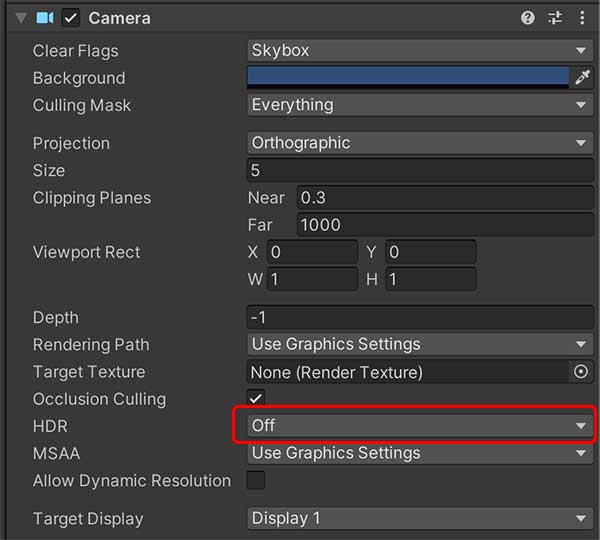
まず手始めに、該当シーンのMain CameraのHDRを「Off」にしておいてください。
Offにしないと背景透過のキャプチャが撮れません。
それじゃぁ綺麗な画面が台無しになる!!って方はキャプチャ処理を走らせる直前に、HDRをOffにする処理を走らせてください。
早速キャプチャしていく!
このままキャプチャを撮ると背景が映り込むので、まずは背景を非表示にしておきます。
// 背景を一旦非表示。
bg.gameObject.SetActive(false);
次に、レンダリングテクスチャからテクスチャ2Dを作成していくのですが、画面のどの辺を切り抜いていくのかを指定しないといけません。
指定する場合、幅と高さに加えて「左下を原点とした」位置の指定が必要となります。
// 位置とサイズを引っ張ってきて
// pos = キャラクターの足元になっています
Vector3 pos = captureTarget.transform.position;
Vector3 size = captureTarget.GetComponent<MeshRenderer>().bounds.size;

// unit単位をpixelに変換
float unit2pixel = Screen.height / 10;

float imageWidth = size.x * unit2pixel;
float imageHeight = size.y * unit2pixel;

float posX = pos.x * unit2pixel + Screen.width/2;
float posY = pos.y * unit2pixel + Screen.height/2;
float imageLeft = posX - (imageWidth / 2);
float imageBottm = posY;
後は画面キャプチャを撮った後、必要な部分だけを切り抜きます。
Camera captureCamera = Camera.main;
captureCamera.targetTexture = new RenderTexture(Screen.width, Screen.height, 0, RenderTextureFormat.ARGB32);
captureCamera.backgroundColor = new Color(1, 1, 1, 0);
captureCamera.depthTextureMode = DepthTextureMode.Depth;
captureCamera.Render();

RenderTexture.active = captureCamera.targetTexture;

Texture2D texture = new Texture2D((int)imageWidth, (int)imageHeight, TextureFormat.ARGB32, false);
texture.ReadPixels(new Rect(imageLeft, imageBottm, imageWidth, imageHeight), 0, 0);
texture.Apply();

// 背景透過のpng画像完成!
byte[] bytes = texture.EncodeToPNG();


// 後始末
captureCamera.targetTexture = null;
RenderTexture.active = null;
UnityEngine.Object.Destroy(texture);

// 背景の再表示を忘れずに!
bg.gameObject.SetActive(true);
このままだと画面に表示されているのと等倍のサイズで画像が生成されてしまうのですが、用途に合わせてリサイズしたい場合は次の処理を挟みます。
// 幅を120pxにする
Texture2D scaledTeture = ScaleTexture(texture, 120, (int)(120 / imageWidth * imageHeight));

// 背景透過のpng画像完成!
byte[] bytes = scaledTeture.EncodeToPNG();
//byte[] bytes = texture.EncodeToPNG();

// 後始末
captureCamera.targetTexture = null;
RenderTexture.active = null;
UnityEngine.Object.Destroy(texture);
UnityEngine.Object.Destroy(scaledTeture);  // 追加!
ScaleTextureという処理はこんな内容になります。
Texture2D ScaleTexture(Texture2D sourceTexture, int width, int height)
{
    Rect texRect = new Rect(0, 0, width, height);
    RenderTexture rt = new RenderTexture(width, height, 32);

    Graphics.SetRenderTarget(rt);
    Graphics.Blit(sourceTexture, rt);

    Texture2D scaledTexture = new Texture2D(width, height);
    scaledTexture.ReadPixels(texRect, 0, 0);
    scaledTexture.Apply();

    // 後始末
    RenderTexture.active = null;
    Graphics.SetRenderTarget(null);
    UnityEngine.Object.Destroy(rt);

    return scaledTexture;
}
ローカルに画像を保存したい場合はこんな感じになります。
// 画像を保存
string saveFolderPath = System.IO.Path.Combine(Application.persistentDataPath, "フォルダ名");
// 保存先フォルダがない場合は作る
if (!Directory.Exists(saveFolderPath))
{
    Directory.CreateDirectory(saveFolderPath);
}

string fileName = $"{saveFileName}.png";
string savePath = System.IO.Path.Combine(saveFolderPath, fileName);
System.IO.File.WriteAllBytes(savePath, bytes);
スポンサーリンク